
Quick Answer: Vanilla (Vanilla planifolia) is a tropical climbing orchid you can grow at home — but it demands patience. Expect 3–5 years before your first flowers, plus consistent warmth, high humidity, bright indirect light, and hand pollination every time a flower opens. Get those conditions right, and homegrown vanilla beans are genuinely within reach.
Can You Really Grow Vanilla Beans at Home?
What Kind of Plant Is Vanilla?
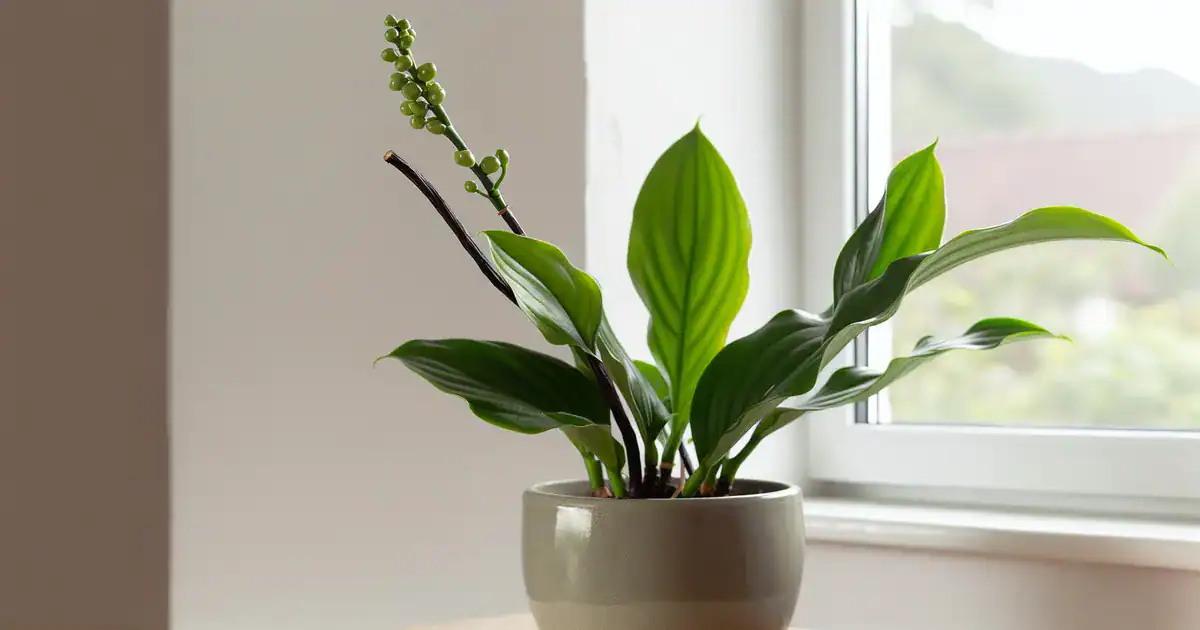
Vanilla is not a herb or a shrub — it’s a hemiepiphytic climbing orchid that roots both in soil and aerially along host trees in the wild. Vanilla planifolia, native to the tropical forests of Mexico, is the species behind most of the world’s vanilla supply. Its “beans” are technically capsule fruits, and they’re completely odorless when freshly harvested. That rich, familiar scent only develops after a months-long curing process.
Three species matter to home growers: V. planifolia (the standard choice), V. tahitensis (floral, anise-like fragrance, lower vanillin content), and V. pompona (larger pods, mostly a novelty). Stick with V. planifolia — it’s the most widely available, best-studied, and most rewarding for home production.
Realistic Expectations: Timeline and Effort
Growing vanilla beans is a long game. A cutting won’t flower for 3–5 years, each flower stays open for just 8–12 hours, and every pod grown outside Mexico requires hand pollination because the native Melipona bee pollinators don’t exist elsewhere. That said, people succeed with this plant in apartments, sunrooms, and greenhouses all over the world. You just need to go in with clear eyes.
Ideal Conditions for Growing Vanilla Beans
Light: Bright Indirect Is Best
Vanilla evolved as a canopy understory climber, so dappled, filtered light is its natural habitat. Bright indirect light — roughly 1,500–3,000 foot-candles — is the sweet spot. Below about 1,000 foot-candles, the plant etiolates: growth becomes weak and stretched, and flowering stalls entirely. Too much direct sun bleaches leaves and shuts down photosynthesis.
Indoors, position the plant within 2–4 feet of a large south- or east-facing window. If your space is dim, a full-spectrum LED grow light placed 12–18 inches above the vine works well. Aim for a 12–14 hour photoperiod during active growth.
Temperature and Humidity
Vanilla wants warmth: the ideal range is 70–85°F (21–29°C), and chilling injury sets in below 50°F (10°C). Keep the plant away from air conditioning vents, drafty windows, and heating registers — temperature swings disrupt the hormonal signals that trigger flowering.
Humidity should stay between 60–85%. Below 50%, aerial roots desiccate and flower buds fail. A cool-mist humidifier nearby is the most reliable fix. Grouping plants together or setting the pot on a pebble tray filled with water can help in a pinch, though neither matches a dedicated humidifier.
One useful trick: allow nighttime temperatures to drop 5–10°F below daytime levels. This mild differential helps trigger bloom initiation — constant warmth can paradoxically suppress flowering.
Watering and Water Quality
Water thoroughly every 5–7 days during active growth, letting the top 1–2 inches of the medium dry out before watering again. In cooler months, stretch that interval to 10–14 days. Vanilla roots need oxygen as much as moisture — constant saturation leads quickly to root rot.
Tap water high in fluoride or chlorine can cause leaf-tip burn. Use filtered water, rainwater, or tap water left out overnight to off-gas chlorine. Flush the pot with a large volume of water once a month to prevent salt buildup.
Best Soil Mix for Vanilla
Vanilla needs an open, fast-draining medium that still holds a little moisture. This blend works well:
- 40% fine orchid bark (fir bark)
- 30% perlite or pumice
- 20% coco coir
- 10% horticultural charcoal
Target a pH of 6.0–6.8. Above 7.0, phosphorus becomes chemically unavailable to the plant — a direct hit to root development and flowering energy.
Container and Support
Use a pot at least 10–14 inches in diameter with generous drainage holes. More important than pot size, though, is the support structure. Vanilla must climb to flower — unsupported horizontal vines almost never bloom.
A moss pole or rough-textured trellis is ideal because vanilla’s aerial roots grip and absorb moisture from fibrous surfaces. Secure the vine loosely with soft jute twine, never wire.
Quick-Reference Conditions Table
| Parameter | Optimal Range |
|---|---|
| Temperature | 70–85°F (21–29°C) |
| Humidity | 60–85% |
| Light | Bright indirect (1,500–3,000 fc) |
| Soil pH | 6.0–6.8 |
| Watering | Every 5–7 days (active growth) |
| Pot size | 10–14 inch minimum |
How to Plant and Propagate Vanilla
Cuttings vs. Established Plants
Vanilla is almost always propagated from stem cuttings — seed propagation is impractical at home. Buying an established plant saves years, but healthy cuttings are more widely available and less expensive. Look for a cutting with at least 3–4 nodes and firm, green, unblemished leaves.
Step-by-Step Planting Guide
- Allow the cut end to callous for 24–48 hours in a warm, shaded spot before planting.
- Fill your container with the orchid bark mix and moisten it lightly.
- Plant the cutting shallowly — just deep enough to anchor it — so the lower nodes sit at or just above the medium surface.
- Attach the vine to your support structure immediately.
- Keep humidity high and hold off on fertilizing for the first 4–6 weeks while roots establish.
Training the Vine for Maximum Flowering
Once the vine reaches the top of its support, don’t let it flop over. Use the commercial looping technique: direct the growing tip back downward, then guide it back up to form a U-shape. This encourages lateral branching, and those lateral shoots are where flowering nodes develop. More loops mean more potential flowers.
Fertilizing for Flowers and Pods
Vanilla is a light-to-moderate feeder, and over-fertilizing is a common mistake. High-nitrogen products push lush leafy growth by suppressing florigen — the hormone complex that triggers flowering. A plant drowning in nitrogen will look gorgeous and never bloom.
During active spring and summer growth, use a balanced water-soluble fertilizer (20-20-20) at half the recommended strength every two weeks. As the plant matures and you want to encourage flowering, switch to a low-nitrogen, high-phosphorus formula such as 10-30-20. In autumn and winter, reduce to once monthly or stop entirely.
If your vine is producing healthy new growth but no flower buds, excess nitrogen is often the culprit. Cut back, switch to the high-phosphorus formula, and simulate a mild dry season by reducing watering slightly for 4–6 weeks. This combination of nutrient shift and mild stress often breaks the vegetative cycle.
How to Hand Pollinate Vanilla Flowers
Why Hand Pollination Is Essential
Outside Mexico, there are no Melipona bees. Every vanilla pod grown in Madagascar, Indonesia, or Tahiti — and your living room — exists because someone pollinated each flower by hand. The flower’s anatomy makes accidental self-pollination nearly impossible: a small membrane called the rostellum physically separates the anther (pollen) from the stigma (the receptive surface). Each flower is open for only 8–12 hours, typically in the morning. Miss the window, and that flower drops without producing a pod.
Step-by-Step Hand Pollination
- Check vines each morning between 6–10 AM for newly opened flowers.
- Use a thin wooden toothpick, small paintbrush, or pencil tip.
- Gently lift the rostellum — the small flap between the anther and stigma.
- Transfer the pollen mass (pollinia) directly onto the sticky stigmatic surface beneath.
- Apply gentle pressure to ensure good contact.
- Repeat for multiple flowers per cluster — vines retain pods more reliably when several are set at once.
A successfully pollinated flower will stay closed, and the ovary — the small green swelling behind the petals — will begin to enlarge within 48–72 hours. If the flower drops within 24 hours, pollination didn’t take. Technique improves quickly with practice.
Common Problems and How to Fix Them
Yellowing or Scorched Leaves
| Symptom | Cause | Fix |
|---|---|---|
| Pale, stretched growth | Too little light | Move closer to window or add grow light |
| Bleached, papery leaves | Too much direct sun | Filter with sheer curtain or shade cloth |
Root Rot
Root rot caused by Fusarium oxysporum or Pythium spp. is the most common way vanilla plants die, and overwatering is almost always the trigger. If you notice wilting despite moist soil, or brown-black discoloration at the stem base, act immediately:
- Remove the plant and trim all brown, mushy roots with sterilized scissors.
- Dust cut surfaces with powdered sulfur or cinnamon (both are natural antifungals).
- Allow roots to air-dry for 24–48 hours.
- Repot in fresh, sterile medium and hold off watering for several days.
Wrinkled Leaves and Bud Drop
Wrinkled or puckered leaves usually mean the plant is losing moisture faster than it can absorb it — low humidity and underwatering are the typical causes. Bud drop often follows temperature swings near drafty windows or vents. Stabilize the environment first, then address moisture.
Plant Won’t Flower
- Too young: Vines under 3 years old rarely flower — no shortcut exists.
- Too much nitrogen: Switch to a high-phosphorus fertilizer.
- Insufficient light: Verify you’re hitting 1,500+ foot-candles.
- No temperature differential: Allow a 5–10°F night drop for 4–6 weeks.
- Horizontal growth: Retrain the vine vertically and loop the tip downward.
Pests
- Spider mites: Raise humidity above 70%, then spray all leaf surfaces (including undersides) with insecticidal soap or neem oil every 5–7 days for three weeks.
- Mealybugs: Dab individual insects with 70% isopropyl alcohol on a cotton swab, then follow up with a neem oil spray.
- Scale: Scrape off manually with a soft toothbrush, then apply horticultural oil every 10 days for 3–4 cycles.
- Fungus gnats: Let the medium dry more between waterings and apply a Bacillus thuringiensis var. israelensis (Bti) soil drench to kill larvae.
Diseases
Anthracnose (Colletotrichum gloeosporioides) appears as dark, sunken lesions on leaves and pods. Remove affected tissue, improve air circulation, and apply a copper-based fungicide every 7–10 days. Bacterial soft rot creates foul-smelling, water-soaked lesions — treat with copper bactericide and sterilize tools after every cut.
Viral infections (Cymbidium Mosaic Virus, Bean Yellow Mosaic Virus) have no cure. Mottled, distorted leaves and declining vigor are the warning signs. Destroy the plant and sterilize everything it touched with a 10% bleach solution. It’s a hard call, but it protects the rest of your collection.
Harvesting and Curing Vanilla Beans
When to Harvest
Pods are ready approximately 9 months after successful pollination. Look for pods that have reached 15–25 cm (6–10 inches) in length and show the first hint of yellow at the tip. Don’t wait for the pod to turn fully yellow — that signals overripeness and the pod may split. Fresh pods are pale green and completely odorless; the vanilla aroma develops entirely during curing.
The Curing Process
Curing converts glucovanillin into vanillin through enzymatic activity. The traditional stages:
- Heat-kill (blanching): Briefly dip pods in 140–150°F water to stop biological activity and begin enzymatic conversion.
- Sweating phase: Wrap pods in wool blankets or seal in a box for several days, repeating daily gentle warming. Pods will turn dark brown.
- Slow drying: Dry pods in gentle sun or a low oven (100–120°F) for several weeks until moisture drops sufficiently.
- Conditioning: Rest pods in a closed box for several more weeks to deepen the flavor profile.
Home curing typically takes 3–6 months total.
Storage
Store fully cured beans in an airtight glass jar away from direct light and heat — they’ll keep for up to two years. Avoid the refrigerator; condensation encourages mold.
Frequently Asked Questions
How long does it take to grow vanilla beans from planting to harvest?
From cutting to first harvest, expect a minimum of 4–6 years: 3–5 years for the vine to mature and flower, then roughly 9 months for pods to develop after pollination. Add 3–6 months for curing. Starting with a more established plant can shave a year or two off that timeline.
Can you grow vanilla beans indoors without a greenhouse?
Yes — a greenhouse helps but isn’t required. What vanilla truly needs is bright indirect light (1,500–3,000 foot-candles), temperatures between 70–85°F, and humidity above 60%. A sunny south- or east-facing window combined with a humidifier and a supplemental grow light can replicate those conditions indoors. The main challenge is space — the vine needs a sturdy vertical support and room to climb.
Why is my vanilla plant not flowering?
The most common reasons: the vine is under 3 years old, it’s receiving too little light, it’s been over-fertilized with high-nitrogen products, or it lacks a day-to-night temperature differential. Try switching to a high-phosphorus fertilizer (10-30-20), confirming you’re hitting at least 1,500 foot-candles, and allowing nighttime temps to drop 5–10°F for several weeks.
How do you hand pollinate a vanilla flower?
Check vines each morning between 6–10 AM for open flowers. Using a toothpick or small paintbrush, gently lift the rostellum — the membrane separating the anther from the stigma — then transfer the pollen mass (pollinia) onto the sticky stigmatic surface below. Apply light pressure. A successfully pollinated flower will stay closed, and the ovary will begin swelling within 48–72 hours.
What is the best soil mix for vanilla beans?
Use a well-draining orchid-style mix: 40% fine orchid bark, 30% perlite or pumice, 20% coco coir, and 10% horticultural charcoal. This provides the drainage and aeration vanilla needs while retaining just enough moisture. Aim for a pH of 6.0–6.8 — above 7.0, phosphorus becomes unavailable to the plant, impairing both root health and flowering.
.

2. **Cool-mist ultrasonic humidifier** — placed in the Temperature and Humidity section, as the "most reliable fix" for low humidity. Natural context: reader is being told what to buy to solve a specific problem. HTML comment:
.
3. **Pre-mixed orchid potting medium / individual components** — placed immediately after the soil mix recipe. Natural context: reader has just seen the recipe and may want to buy components or a ready-made mix. HTML comment:.`.
4. **Extendable moss pole or coco coir pole** — placed in the Container and Support section, immediately after recommending a moss pole or rough-textured trellis. Natural context: reader needs to buy a support structure. HTML comment:
5. No fifth affiliate was forced in. The original article had only two affiliate comments; three additional natural placements were added above. A fifth could be added in the pest section (neem oil / insecticidal soap) or the curing section (airtight glass storage jars) if the editorial team wants to expand.
Completeness
- FAQ retained at 5 questions — within the 3–5 requirement.
- All questions have concise, specific answers.
Product Placeholders
- No raw … placeholders existed in the original. The two existing affiliate HTML comments were retained and lightly edited for clarity; three new ones were added as described above.
–>