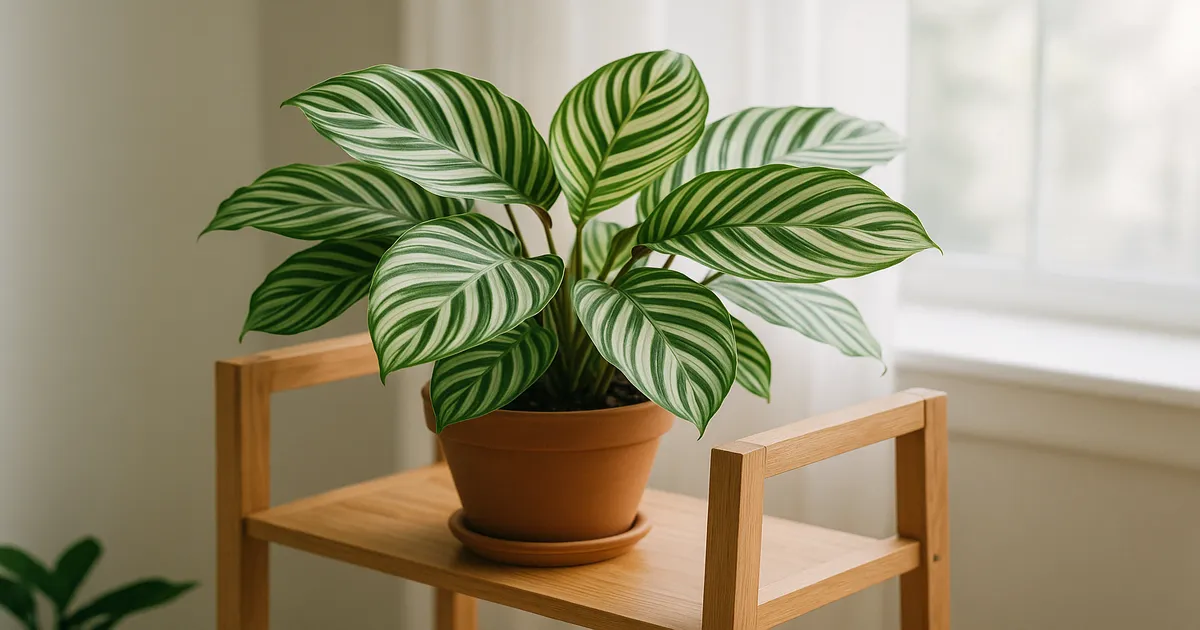
Quick Answer: Yes, you should prune your calathea — but only to remove damaged, diseased, or dying leaves, not to shape the plant. Calatheas grow from a rhizome and produce individual leaves on petioles, so pruning means removing whole leaves or trimming brown portions, not cutting back stems. Pruned leaves do not regrow, so every cut is permanent.
Should You Prune Your Calathea?
Pruning a calathea is a targeted, reactive tool — not a routine grooming habit. You prune to remove leaves that are damaged enough to harm the plant’s health or drain its energy, and to fix cosmetic issues that genuinely bother you. You should never prune out of habit or tidy up leaves that are still doing their job.
How Calathea Growth Works (And Why It Changes Everything)
Calatheas are rhizomatous monocots. Each leaf emerges individually from an underground rhizome on its own petiole — there are no woody stems, no branching structure, and no nodes to cut back to. When you prune a pothos, you’re shaping a vine that will branch and regrow. When you prune a calathea, you’re removing a single leaf permanently.
New leaves emerge from the rhizome on their own schedule. Removing an old leaf doesn’t trigger the plant to push out a replacement. This makes every pruning decision worth thinking through carefully.
7 Reasons Your Calathea May Need Pruning
Brown Leaf Tips and Margins (Tip Burn)
Tip burn is the most common reason people reach for the scissors. The outermost leaf cells are the last to receive water through the plant’s vascular system, so they’re the first to die when something goes wrong. Low humidity (below 50%), fluoride accumulation from tap water, salt buildup from over-fertilizing, and dry air from HVAC systems are all common culprits.
Yellowing Leaves
Yellow leaves signal chlorophyll breakdown — and the cause matters before you start cutting. Overwatering and root rot block nutrient uptake entirely. Nitrogen deficiency pulls the mineral out of older lower leaves to feed new growth, turning them yellow first. Natural senescence does the same: older leaves at the base of the plant eventually yellow and die, and that’s completely normal.
Torn or Physically Damaged Leaves
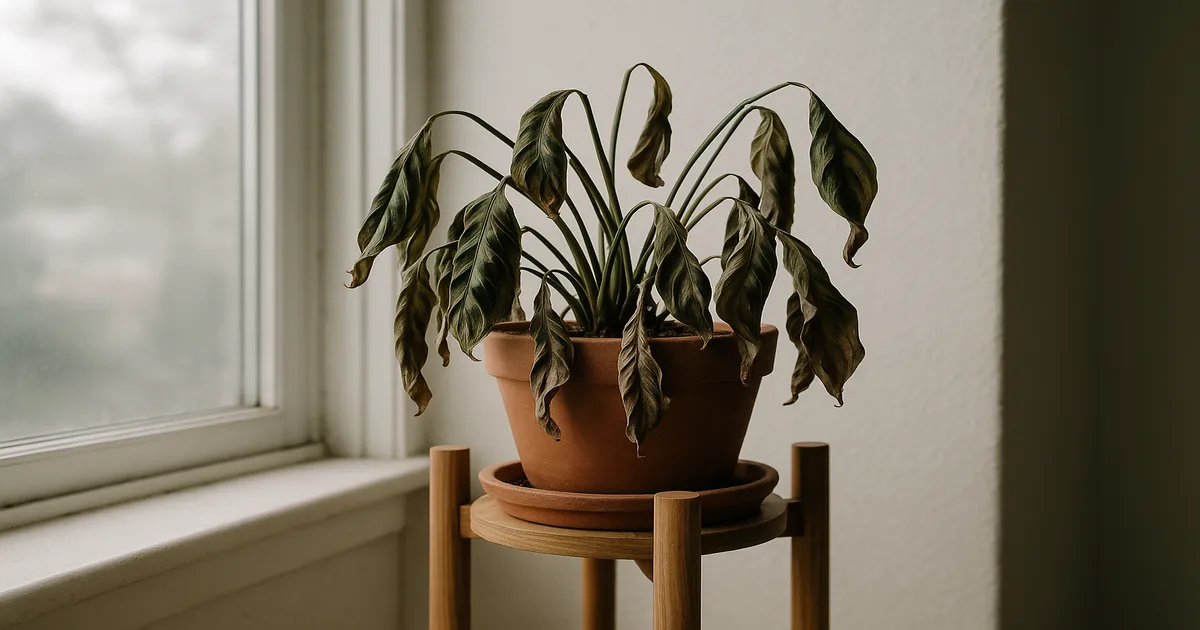
Calathea leaves are large and thin, which makes them vulnerable to pets, passing furniture, and careless repotting. Torn tissue can’t repair itself, and open wounds invite secondary infections from Botrytis or Pseudomonas bacteria. A leaf that’s more than half torn or shredded is contributing very little photosynthetically and is worth removing.
Pest Infestation Damage
Spider mites, mealybugs, thrips, and scale all leave visible damage — stippling, silvery streaks, sooty mold, and distorted new growth. Heavily damaged leaves also shelter pest populations, making treatment harder. Removing the worst-affected leaves is often the first step in getting an infestation under control.
Fungal or Bacterial Leaf Spots
Diseases like Helminthosporium leaf spot, Pseudomonas blight, and Fusarium crown rot spread via spores and bacteria that splash from leaf to leaf. Infected leaves are inoculum reservoirs — leaving them on the plant means the disease keeps spreading. Removal is often more effective than any spray.
Cold or Draft Damage
Calatheas are tropical plants with a chilling sensitivity threshold around 60°F (15.5°C). Cold drafts from windows, air conditioning vents, or exterior doors cause irreversible cell membrane damage — you’ll see water-soaked patches that turn brown or black. These leaves will not recover, and removing them prevents secondary infections.
Severe Root-Bound Stress
A severely root-bound calathea can’t efficiently absorb water or nutrients, which accelerates leaf decline across the whole plant. If you’re seeing persistent tip burn despite good humidity, widespread yellowing, and stunted new growth, the root system may be the underlying problem. Pruning declining leaves at repotting time helps the plant redirect energy toward recovery.
Quick Reference: Symptom-to-Cause Table
| Symptom | Most Likely Cause(s) |
|---|---|
| Brown tips/margins | Low humidity, fluoride/salt buildup, underwatering |
| Yellowing lower leaves | Natural senescence, nitrogen deficiency, overwatering |
| Yellowing upper leaves | Overwatering/root rot, too much light |
| Pale, washed-out patches | Direct sun exposure (photobleaching) |
| Stippling or silvery streaks | Spider mites or thrips |
| Water-soaked brown/black patches | Cold damage or bacterial blight |
| Circular spots with yellow halos | Helminthosporium leaf spot (fungal) |
| Widespread decline + stunted growth | Root-bound stress |
How to Prune a Calathea: Step-by-Step
Tools and Sterilization
Sharp, clean tools are non-negotiable. Blunt scissors crush tissue, creating ragged wounds that heal poorly and invite infection. Use sharp pruning snips — Fiskars Micro-Tip Pruning Snips are a reliable choice for the fine work calatheas require — and sterilize them before each session and between cuts using 70% isopropyl alcohol or a 10% bleach solution (1 part bleach to 9 parts water). Wipe the blade, let it sit for 30 seconds, then wipe dry.
Removing an Entire Leaf
Trace the petiole all the way down to soil level. Cut as close to the base as possible without nicking the rhizome. Leaving a long stub behind is a common mistake — it rots and can introduce pathogens into the crown.
Trimming Brown Tips Without Ruining the Look
If the leaf is mostly healthy and only the tips or margins are brown, you don’t need to remove the whole leaf. Cut at a slight angle just inside the brown tissue, following the natural curve of the leaf. This keeps the leaf looking natural rather than bluntly chopped, and the small remaining brown edge is barely noticeable.
How Much Can You Safely Remove at Once?
Keep total pruning to no more than 20–25% of the plant’s leaf area in a single session. Calatheas photosynthesize through their leaves — remove too many at once and you starve the plant of the energy it needs to recover. If the plant needs more pruning than that, spread it across several weeks.
Fixing the Root Cause: Solutions by Symptom
Pruning removes the evidence of a problem. It doesn’t fix the problem itself.
Stopping Brown Tips
Switch to filtered, distilled, or rainwater — this single change eliminates fluoride phytotoxicity and reduces chlorine exposure. A pitcher filter like the Brita Standard Water Filter Pitcher makes this easy to maintain consistently. Aim for 60–80% relative humidity using a cool-mist ultrasonic humidifier placed within 3–4 feet of the plant — the Levoit Classic 300S is a popular option that covers most indoor spaces well. Every 3–4 months, flush the soil with 3–4 times the pot volume of distilled water to leach accumulated salts and mineral deposits.
Treating Yellow Leaves
Check the roots first. Mushy, brown, foul-smelling roots confirm overwatering and root rot — trim the damaged roots with sterilized scissors, repot into fresh mix, and reduce watering frequency. For light, target bright indirect light (1,500–3,000 foot-candles) and keep the plant away from direct sun. If lower leaves are yellowing on an otherwise healthy plant, a balanced liquid fertilizer at quarter strength can address nitrogen deficiency. Dyna-Gro Grow 7-9-5 is a good fit here — it’s complete, low-salt, and easy to dilute.
Managing Pests After Removing Damaged Leaves
Isolate the plant immediately. Then treat based on what you’re dealing with:
- Spider mites: Raise humidity, wash leaves with water, apply insecticidal soap or neem oil weekly for 3–4 weeks.
- Mealybugs: Dab individual insects with a cotton swab soaked in 70% isopropyl alcohol, then follow with insecticidal soap spray.
- Thrips: Apply a spinosad-based insecticide — Monterey Garden Insect Spray with Spinosad is one of the most effective options available.
- Scale: Scrape off manually, then treat with horticultural oil to smother remaining insects.
Treating Fungal and Bacterial Leaf Spots
Remove every affected leaf — this is the most important step. Improve air circulation, and stop watering overhead or misting leaves directly. Apply a copper-based fungicide/bactericide for bacterial issues; Bonide Copper Fungicide is widely available and effective against both fungal and bacterial pathogens. If bacterial blight keeps recurring, dial humidity back slightly to 55–65% RH and prioritize air movement over maximum humidity.
Repotting a Root-Bound Calathea
Choose a pot only 1–2 inches larger in diameter than the current one — too much extra soil holds excess moisture and increases rot risk. Use a well-draining mix: 50% peat-free potting mix, 20% perlite, 20% orchid bark, and 10% worm castings, at a pH of 6.0–7.0. Always use a pot with drainage holes. Prune any declining leaves at repotting time so the plant isn’t supporting dying tissue while its roots recover.
When NOT to Prune Your Calathea
Leaves That Look Bad But Are Still Working
A leaf with a small brown tip or slight discolouration is still photosynthesising. If it’s still moving with the plant’s daily nyctinasty — folding up at night and opening in the morning — it’s functional and worth keeping. Cosmetic imperfection is not the same as a leaf that needs to go.
During Dormancy or Active Stress
Avoid heavy pruning in winter when growth slows. If your calathea is already stressed from a recent repot, a pest treatment, or a move to a new location, hold off on any non-essential pruning until it stabilises. Adding stress on top of existing stress rarely ends well.
The Risk of Over-Pruning
Removing more than 25% of the plant’s foliage at once reduces photosynthetic capacity and can push it into a spiral of further decline. Each cut is permanent. When in doubt, leave the leaf on the plant a little longer and reassess in a week.
Preventing the Need to Prune Your Calathea
The best pruning session is the one you never need to have. Most calathea leaf damage is preventable with consistent care.
Water quality and technique: Room-temperature filtered, distilled, or rainwater is the gold standard. Water thoroughly when the top 1–2 inches of soil are dry, then let it drain completely — never let the pot sit in standing water. Reduce watering frequency by about 30–40% in winter.
Humidity: Most indoor environments sit at 30–50% RH — well below what calatheas need. Target 60–80% RH, measured with a hygrometer, and use a cool-mist ultrasonic humidifier as your primary tool. One important myth to put to rest: misting leaves doesn’t meaningfully raise ambient humidity, and the localized moisture it creates actually promotes fungal and bacterial leaf spots.
Soil and pot: Use a well-draining mix (50% peat-free potting mix, 20% perlite, 20% orchid bark, 10% worm castings) and always use a pot with drainage holes. No exceptions.
Light, temperature, and placement: Bright indirect light (1,500–3,000 foot-candles) mimics the dappled light of a tropical forest understory. Keep the plant away from direct sun, cold windows, and HVAC vents. The ideal temperature range is 65–85°F (18–29°C).
Fertilizing: Feed monthly during the growing season (spring through early fall) with a balanced liquid fertilizer at quarter to half strength. Over-fertilizing is one of the most common causes of salt accumulation and tip burn, so less is genuinely more. Skip fertilizing entirely in winter.
Calathea Species and Common Pruning Issues
The pruning technique is identical across all calathea species — you’re always removing individual leaves or trimming leaf portions, never cutting back stems. What differs is how frequently pruning may be needed.
| Species | Common Name | Most Common Pruning Issue |
|---|---|---|
| G. medallion | Medallion Calathea | Tip burn (large leaf surface loses water fast) |
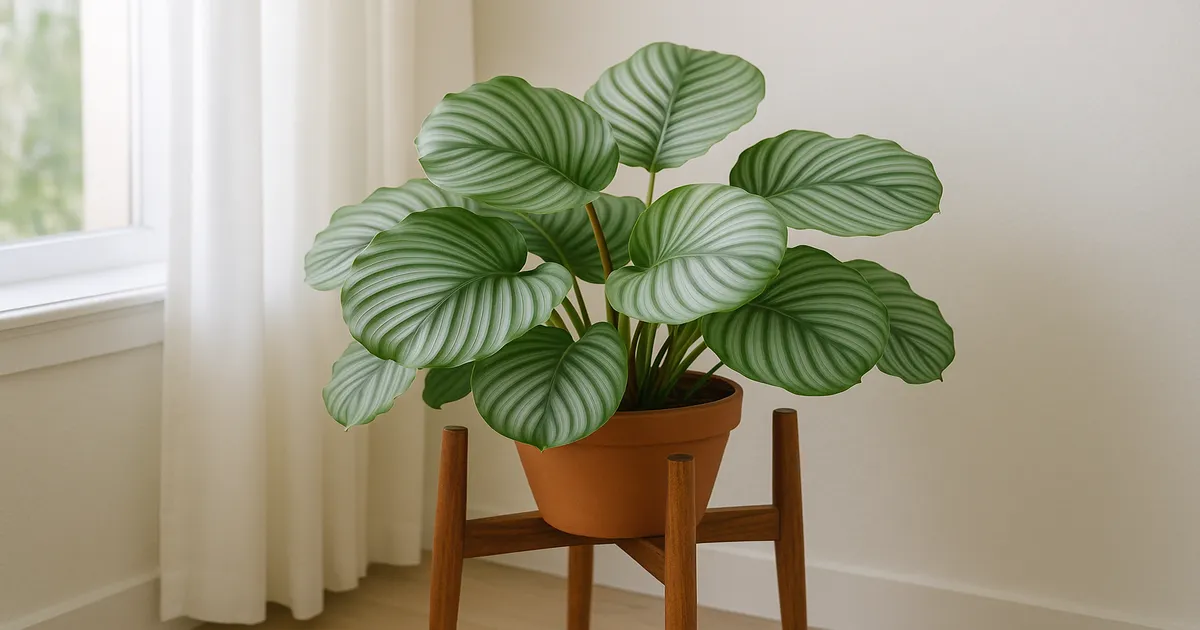
| G. orbifolia | Orbifolia Calathea | Browning edges — very visible on large round leaves |
| G. lancifolia | Rattlesnake Calathea | Crispy tips from low humidity |
| G. ornata | Pin-stripe Calathea | Brown leaf margins |
| G. makoyana | Peacock Calathea | Yellowing lower leaves |
| G. roseopicta | Rose-painted Calathea | Leaf curl and browning |
Medallion and Orbifolia, with their large leaf surfaces, show tip burn more visibly and lose water through transpiration faster. Rattlesnake calathea tends to crisp up quickly in dry conditions. But the scissors go in the same place regardless of which species you’re growing.
Frequently Asked Questions About Pruning Calathea
Will calathea leaves grow back after pruning?
No. Once a calathea leaf is removed, it does not regrow. New leaves emerge from the rhizome on their own schedule, but they are entirely new leaves — not replacements for the one you cut. This is why it’s worth thinking carefully before removing a leaf that still has some functional life in it.
Should I cut off brown tips on my calathea or remove the whole leaf?
It depends on how much of the leaf is affected. If only the tips or margins are brown and the rest of the leaf is healthy and still moving with the plant’s daily rhythm, trim just the brown portion following the natural leaf shape. If more than half the leaf is brown, damaged, or diseased, remove the whole leaf at the base of the petiole — it’s contributing very little at that point.
How often should I prune my calathea?
There’s no fixed schedule — prune as needed when you see damaged, diseased, or severely declining leaves. For most healthy calatheas in good conditions, that might mean removing a leaf or two every few weeks as older lower leaves naturally senesce. If you’re pruning heavily and frequently, that’s a sign the underlying care conditions need attention.
Why does my calathea keep getting brown tips even after I prune them?
Because pruning removes the symptom, not the cause. If new tips keep browning after you trim them, the underlying issue — most likely low humidity, fluoride or salt accumulation in the soil, or inconsistent watering — is still present. Switch to filtered or distilled water, raise humidity to 60–80% RH, and flush the soil every few months to clear mineral buildup.
Does pruning calathea encourage new growth?
Not directly. Removing a leaf doesn’t signal the plant to push out a new one the way deadheading flowers does. However, removing severely damaged or dying leaves can help the plant redirect energy away from struggling tissue and toward healthy leaves and new growth from the rhizome. The real driver of new growth is good light, warmth, and consistent watering.