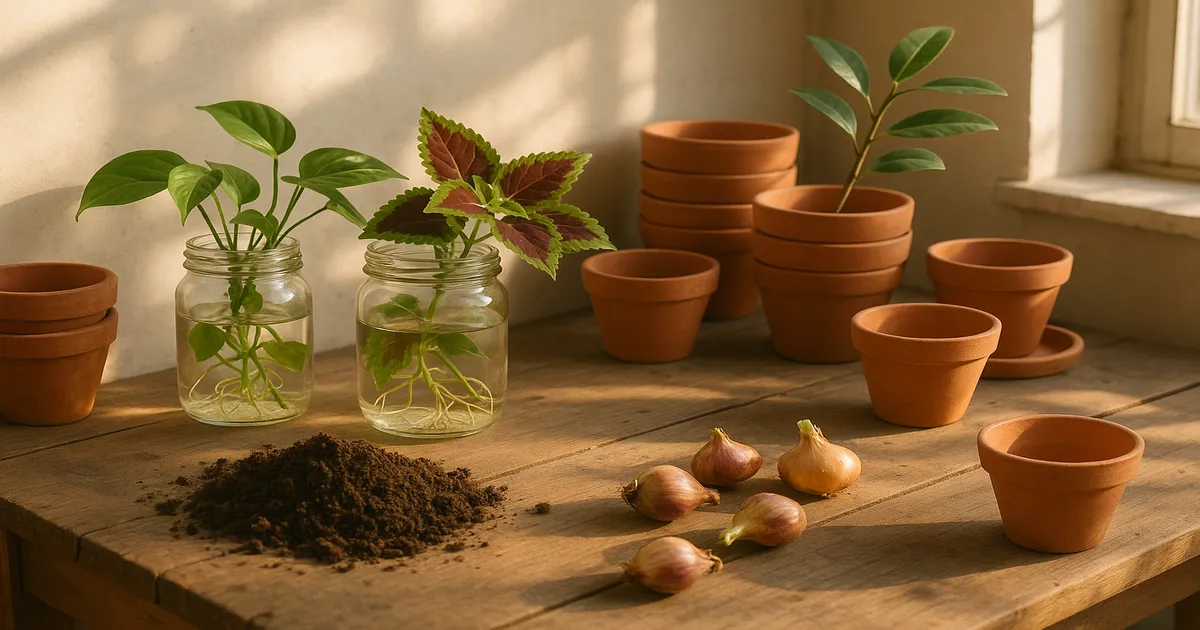
Quick Answer: Yes — plant it now. Whether you’ve got a cutting sitting in a glass of water, a bulb in a paper bag, or an impulse buy still in its nursery pot, the single best thing you can do is get it into soil today. Imperfect planting almost always beats indefinite limbo. This guide covers exactly how to do it for every situation — plus the best low-maintenance houseplants if you want to pot something and genuinely stop thinking about it.
If you’ve ever stood over a plant and thought can I plant this so I can stop looking at it? — you’re in good company. That feeling usually means one of two things: you’ve got a plant stuck in some temporary state that needs dealing with, or you’re done babysitting finicky plants and want something you can pot once and largely ignore. Both are completely valid. This guide handles both.
The Best ‘Plant It and Forget It’ Houseplants
Some plants are genuinely low-maintenance — not because of marketing, but because of biology. The trick is matching a plant to conditions close enough to its natural habitat that it barely notices you’re neglecting it.
Snake Plant (Dracaena trifasciata)
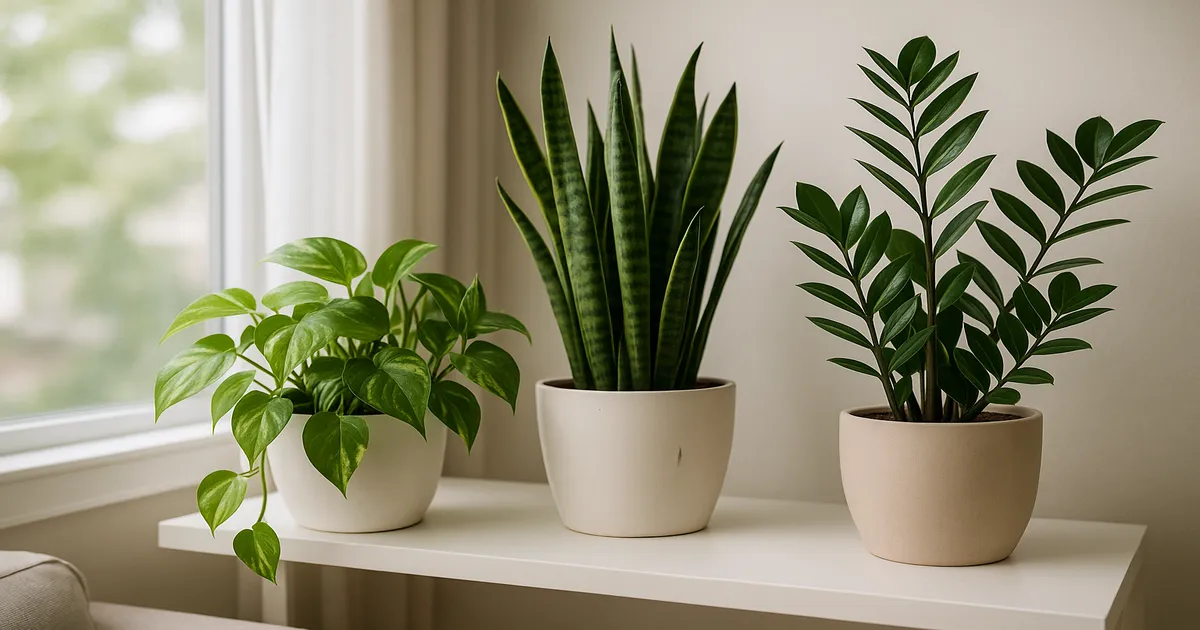
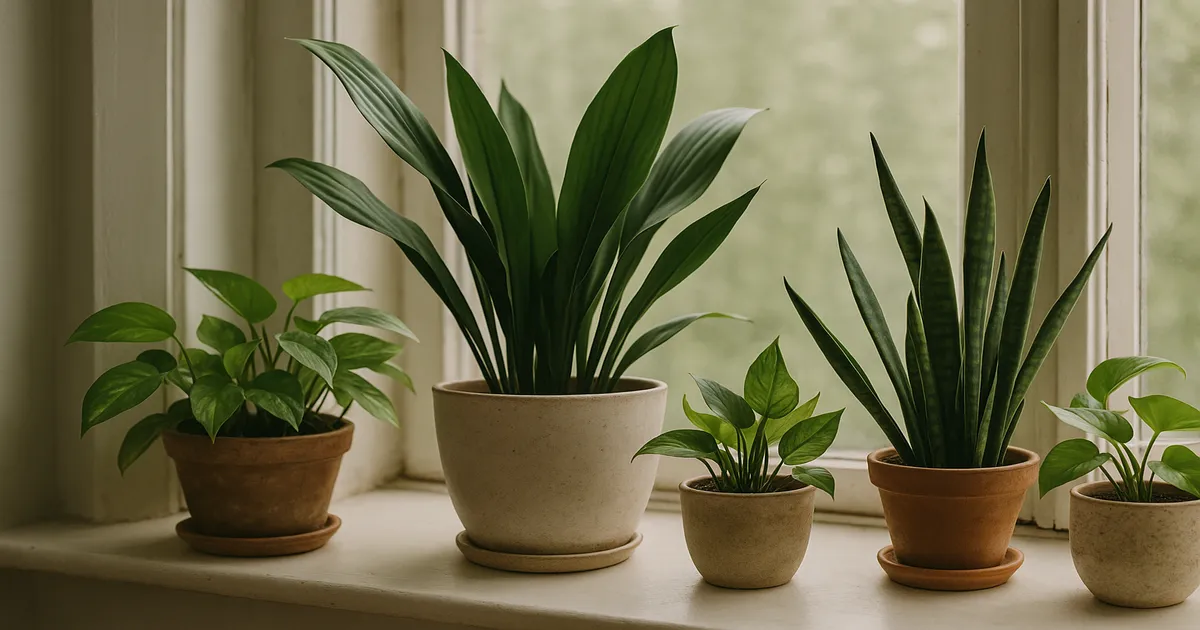
Snake plants use CAM photosynthesis, opening their stomata at night to dramatically reduce water loss. In practice, this means they can go weeks without water and still look sharp. They tolerate a soil pH of 5.5–7.5 — one of the widest ranges of any common houseplant — and thrive in bright indirect light but cope with much less. Water every 2–6 weeks depending on the season, and let the soil dry out completely between waterings.
ZZ Plant (Zamioculcas zamiifolia)
ZZ plants store water in thick underground rhizomes that function like built-in reservoirs. Even if you forget to water for a month or two, the plant is drawing on those reserves. It prefers bright indirect light but tolerates low light remarkably well, and it’s happy in standard potting mix at a pH of 6.0–7.0. Water every 3–4 weeks and largely leave it alone. Note: all parts of the ZZ plant are toxic if ingested, so keep it away from pets and children.
Pothos and Heartleaf Philodendron
Both evolved on tropical forest floors where light is filtered and inconsistent. That history makes them extraordinarily adaptable to the variable conditions of most homes. They tolerate a soil pH of 6.0–7.0, handle irregular watering, and bounce back from neglect that would kill most other plants. Water when the top inch of soil is dry — roughly every 1–2 weeks — and they’ll reward you with fast, enthusiastic growth.
Succulents and Cacti
Like snake plants, most succulents and cacti use CAM photosynthesis to conserve water. They need fast-draining soil — a dedicated cactus and succulent mix works well — a soil pH of 6.0–7.0, and bright direct or indirect light (at least 3,000 foot-candles). Water every 2–4 weeks in summer, even less in winter. The main way to kill them is overwatering, so if you’re a neglectful waterer, they’re actually your ideal plant.
Cast Iron Plant (Aspidistra elatior)
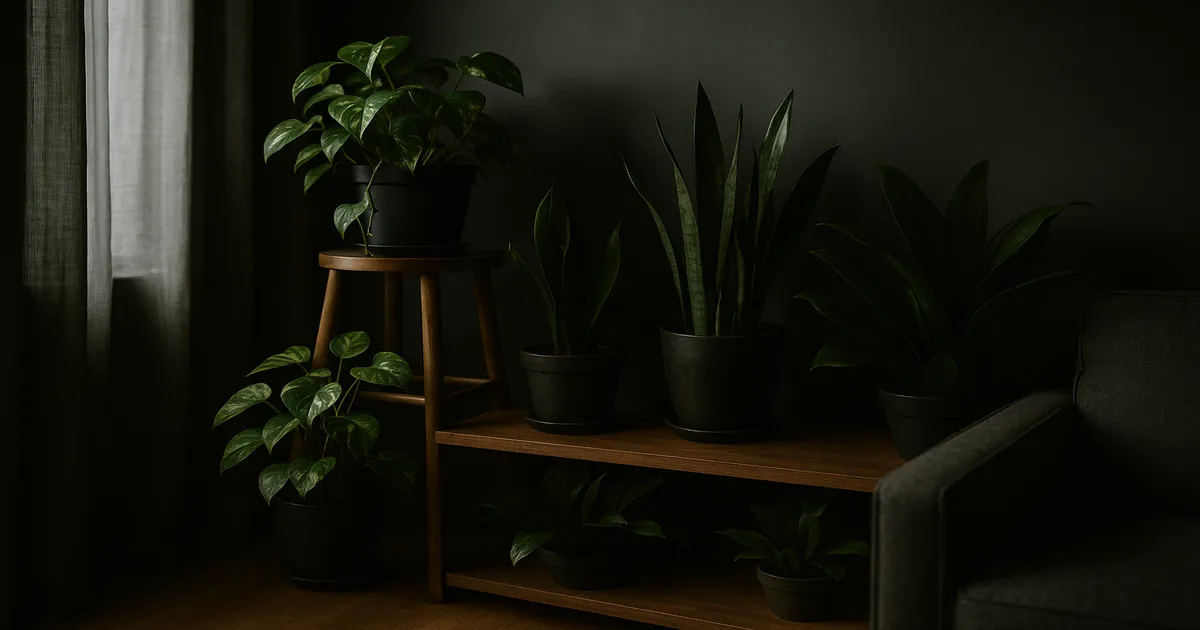
This plant earned its common name honestly. It handles deep shade, temperature swings, dust, irregular watering, and general indifference with quiet grace. It’s slow-growing and low-feeding, preferring a soil pH of 5.5–7.0. If you have a dark corner that’s killed everything else, this is your plant.
Spider Plant (Chlorophytum comosum)
Spider plants have fleshy, water-storing roots that give them built-in drought tolerance. What makes them especially beginner-friendly is that they droop slightly when thirsty — a clear visual cue that removes all guesswork. The peace lily (Spathiphyllum spp.) does the same thing even more dramatically, wilting visibly when dry and perking back up within hours of watering. Both are excellent if you want a plant that communicates rather than silently suffers.
Why You’re Still Looking at It: 7 Common Causes of Plant Limbo
1. The Cutting Has Been in Water Too Long
Water-rooted cuttings develop hydroponic roots — thin, white, highly branched structures adapted to oxygen-rich water rather than soil. The longer they stay in water, the more committed those roots become to their aquatic environment. Transfer them too late (roots longer than 3–5 cm) and the transition failure rate climbs sharply, because those roots essentially have to die back and be replaced by soil roots.
2. You Don’t Have the Right Pot or Soil Yet
This is decision paralysis dressed up as preparation. The longer you wait for the “perfect” setup, the more likely the plant is to suffer. A slightly imperfect setup today is still better than indefinite delay.
3. The Plant Is Root-Bound and Overdue for Repotting
When roots run out of space, they start circling the pot and competing for water and nutrients. Eventually the root-to-soil ratio becomes so imbalanced that the plant can’t absorb water even right after you’ve watered it. You’ll see wilting within hours of watering, roots escaping from drainage holes, and generally sad-looking foliage.
4. A Bulb or Corm Is Sitting in a Bag
Dormant bulbs aren’t truly dormant — they’re slowly respiring and consuming their stored carbohydrates the whole time. After 8–12 weeks in storage, energy reserves start to deplete and bloom quality drops. They also desiccate: even a 10–15% moisture loss can damage the embryonic flower tissue inside.
5. Seedlings Under Grow Lights That Need Potting Up
Seedlings that have outgrown their cells show two telltale problems: etiolation (stretched, weak stems) and yellowing lower leaves from nitrogen deficiency. Roots begin circling early in small containers, which can permanently affect structural stability if left too long.
6. An Impulse Buy Still in Its Nursery Pot
Nursery soils are typically loaded with controlled-release fertilizer calibrated for 3–6 months of commercial production. Once that charge runs out, the plant has no nutritional support. Nursery plants are also accustomed to greenhouse conditions — high humidity, consistent temperatures, excellent light — and are already stressed by the move to your home.
7. The ‘I’ll Do It This Weekend’ Plant
Pure procrastination, but it has real consequences. Plants in suboptimal temporary conditions accumulate chronic stress that makes them more susceptible to pests. Stressed plants emit volatile organic compounds that actively attract fungus gnats, spider mites, and scale insects. The plant that looks fine today may have a pest problem next month.
How to Fix Each Situation: Step-by-Step Planting Guides
Fix 1: Transferring a Water-Rooted Cutting to Soil
The ideal transfer window is when roots are 1–3 cm (½–1 inch) long — long enough to anchor in soil, short enough that they haven’t fully committed to aquatic life.
- Prepare a 50/50 mix of perlite and standard potting mix — this mimics the high-oxygen environment of water while introducing soil structure.
- Make a hole in the mix, lower the cutting in gently, and firm the mix around the stem without compacting it.
- Water until evenly moist — not wet — and cover with a clear plastic bag or humidity dome for 1–2 weeks to reduce transpiration while soil roots establish.
- Keep in bright indirect light. Do not fertilize for 6–8 weeks; fragile new roots can’t process nutrients yet and fertilizer salts will cause tip burn.
Fix 2: Choosing the Right Pot and Soil
For succulents and cacti: Use a cactus/succulent mix or amend standard potting mix with 50% perlite. Choose an unglazed terracotta pot — it wicks excess moisture through its walls, reducing root rot risk. Size the pot just 1–2 inches larger than the root ball.
For tropical foliage plants: A peat-free potting mix amended with 20–30% perlite works for most aroids. Target a soil pH of 6.0–6.5. Plastic pots retain moisture longer (good for thirsty plants); terracotta dries faster (good for drought-tolerant ones).
For bulbs: Standard potting mix with added coarse grit for drainage. Plant at a depth 2–3 times the bulb’s diameter.
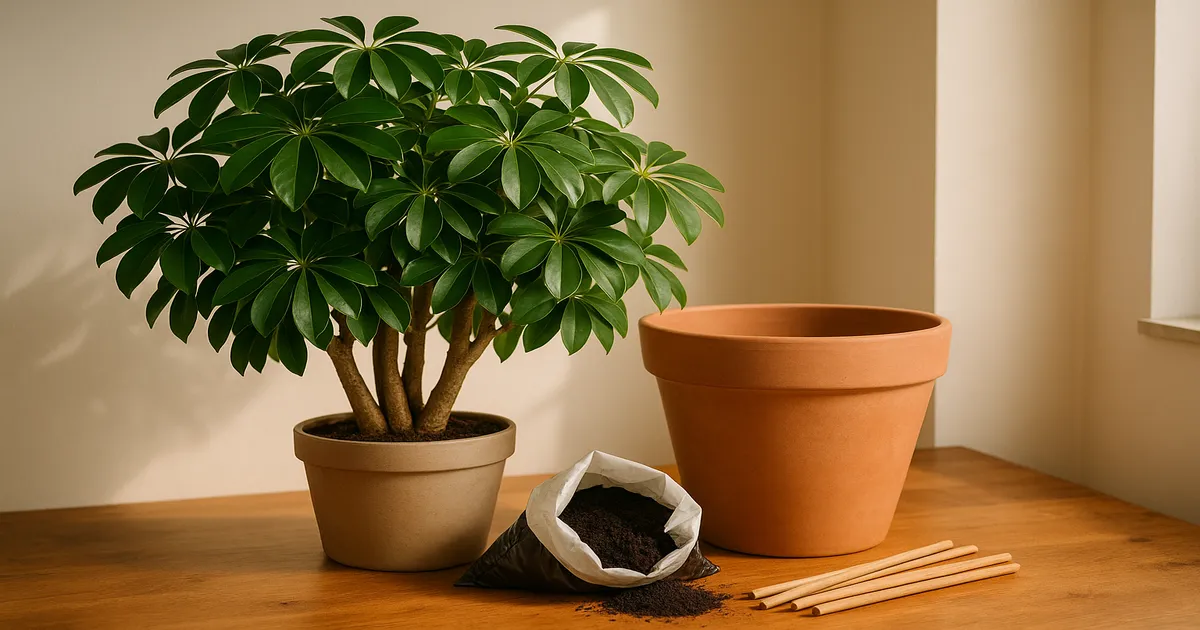
Fix 3: Repotting a Root-Bound Plant Safely
- Choose a new pot only one size up (2 inches / 5 cm larger in diameter). Jumping sizes leads to excess soil holding moisture — a primary cause of root rot.
- Gently tease apart circling roots with your fingers or a clean chopstick.
- For severely root-bound plants, make 3–4 vertical score cuts about 1 cm deep down the root ball with a sterile blade to encourage outward growth.
- Fill with fresh potting mix appropriate to the species, water thoroughly, and keep in bright indirect light for 2–3 weeks while it recovers.
Fix 4: Planting Bulbs That Have Been Sitting Around
Tender bulbs (amaryllis, caladium, dahlia): Plant immediately — no cold stratification needed. For amaryllis, leave the top third of the bulb above the soil surface. For caladiums, plant tubers 2 inches deep, knobby side up, in soil above 65°F (18°C).
Hardy bulbs (tulip, daffodil, hyacinth): These need 12–16 weeks of cold (35–45°F / 2–7°C) to bloom. If you’ve missed the fall planting window, refrigerate them in a paper bag away from fruit — ethylene gas from ripening fruit damages bulbs — and plant in late winter. Always plant pointed end up at a depth of 2–3 times the bulb’s height.
Fix 5: Potting Up Leggy or Overgrown Seedlings
- Move seedlings into containers 2–4 inches larger than their current cell, using a fine-textured seedling starter mix rather than heavy garden soil.
- If seedlings are leggy, bury the stem deeper than it was growing — tomatoes, peppers, and many herbs will produce roots along the buried stem. This doesn’t work for monocots like corn or onions.
- Fertilize lightly with a balanced liquid fertilizer at ¼ strength once true leaves appear.
- Harden off over 7–14 days before moving outdoors: start with 1–2 hours of shade, gradually increasing sun and wind exposure each day.
Fix 6: When to Repot a Nursery Pot Plant (and When to Wait)
Wait 2–4 weeks after bringing a plant home before repotting. This gives it time to adjust to your home’s light, humidity, and temperature before you add the stress of root disturbance.
Repot immediately if:
- Roots are emerging from drainage holes
- The plant wilts within hours of watering
- Water beads on the soil surface instead of absorbing (hydrophobic nursery soil)
Always inspect for pests before repotting. Nursery plants frequently carry fungus gnats, spider mites, or scale. Treat with neem oil or insecticidal soap before introducing the plant to your collection.
Fix 7: Overcoming Plant Procrastination — The 15-Minute Rule
Set a timer for 15 minutes and commit to just getting the plant into soil. That’s it. You don’t need the perfect pot or the ideal soil mix. A plant in a slightly imperfect setup is vastly better off than a plant in limbo.
Keep a small planting kit assembled and accessible: a bag of potting mix, a few clean pots with drainage holes, a trowel, and a pair of gloves. Reducing setup friction is the single biggest factor in actually following through.
Soil and Pot Quick-Reference
| Plant Type | Recommended Soil | Pot Material | Drainage Holes |
|---|---|---|---|
| Succulents & cacti | Cactus/succulent mix or 50% potting mix + 50% perlite | Unglazed terracotta | Essential |
| Tropical foliage (pothos, philodendron, monstera) | Peat-free potting mix + 20–30% perlite | Plastic or ceramic | Essential |
| Bulbs | Standard potting mix + coarse grit | Any | Essential |
| Seedlings | Fine-textured seedling/starter mix | Plastic cell trays or small pots | Essential |
| Water-rooted cuttings (transitioning) | 50% perlite + 50% potting mix | Plastic (retains moisture) | Essential |
Terracotta vs plastic vs ceramic: Terracotta is porous — it wicks moisture away from the root zone through its walls, which is excellent for drought-tolerant plants and a lifesaver if you tend to overwater. Plastic retains moisture much longer, making it better for thirsty tropicals. Glazed ceramic sits in between: it doesn’t breathe like terracotta, but it doesn’t hold moisture quite as aggressively as plastic.
Drainage holes are non-negotiable. Standing water creates the anaerobic conditions that Pythium, Phytophthora, and Fusarium — the main root rot pathogens — need to thrive. These water molds spread rapidly through waterlogged soil and can destroy a root system in days. If you love a decorative pot without drainage, use it as a cachepot and keep your plant in a plain nursery pot with holes inside it.
Signs Your Plant Has Been in Limbo Too Long
Visual symptoms:
- Yellowing lower leaves — classic sign of nitrogen deficiency in seedlings and root-bound plants
- Leggy, stretched growth — etiolation from inadequate light or overcrowded conditions
- Wilting within hours of watering — hydraulic failure in severely root-bound plants
Root warning signs: Slide the plant out of its container and look at the roots. Healthy roots are white or light tan and firm. Mushy, brown, or black root tips indicate rot from prolonged waterlogging. Roots tightly coiled in a solid mass around the entire root ball mean the plant has been root-bound for a long time — score the root ball before repotting to encourage outward growth.
Pest signals:
- Fine webbing on leaf undersides → spider mites
- Sticky residue on leaves or nearby surfaces → scale or aphids
- Tiny flies around the soil → fungus gnats (larvae feed on roots in moist soil)
Stressed plants emit different volatile organic compounds than healthy ones, and pests have evolved to detect these signals. If you’re suddenly seeing pest pressure on a plant that’s been sitting in limbo, that’s not a coincidence. The good news: most plants recover well once properly planted and given a few weeks to stabilise.
Prevention: How to Stop Getting Stuck in Plant Limbo
Build a ready-to-plant station. Stock a small corner with three core mixes (general potting mix, cactus/succulent mix, propagation mix), a range of clean pots with drainage holes, and basic tools. When everything is assembled and accessible, the friction that causes procrastination disappears. A 10-minute job stops feeling like a project.
Transfer cuttings at the right time. Move cuttings to soil at the 1–3 cm root stage — check weekly once you see the first root nubs forming. Set a phone reminder if you need to. The cutting that looks fine in its glass of water is quietly developing roots that become harder and harder to transition.
Follow a seasonal bulb calendar:
- Fall (September–November): Hardy bulbs — tulips, daffodils, hyacinths, alliums
- Spring (March–May): Tender bulbs — dahlias, caladiums, cannas, gladiolus
- Year-round (indoors): Amaryllis can be planted any time
If you buy bulbs outside their ideal window, refrigerate them in a paper bag and plant at the next appropriate time.
Label everything in temporary care. A piece of masking tape with the date written on it is all you need. Stick it on the glass, the bag, or the nursery pot the day the plant enters temporary care. Seeing “October 3rd” written on a cutting in January creates urgency in a way that vague guilt doesn’t.
Frequently Asked Questions
Can I plant this so I can stop looking at it — even if conditions aren’t perfect?
Almost always, yes. The most common mistake is waiting for the ideal pot, soil, or season. A plant in a slightly wrong setup will usually adapt and recover. A plant left in limbo for weeks accumulates stress, depletes energy reserves, and becomes vulnerable to pests. Done is almost always better than perfect here.
How long can a cutting survive in water before it has to go into soil?
Most cuttings can survive in water for several weeks, but the quality of that survival declines over time. Roots that develop past 3–5 cm become increasingly adapted to aquatic conditions and struggle to transition. Aim to pot cuttings when roots are 1–3 cm long — typically 2–4 weeks after you first see root nubs forming, depending on the species and temperature.
What’s the fastest way to tell if a plant is root-bound?
Slide it out of its pot. If you see a dense mat of roots circling the outside of the root ball with little visible soil, it’s root-bound. Other signs include water running straight through the pot without absorbing, wilting within hours of watering, and roots growing out of drainage holes.
Can I use garden soil for houseplants in a pinch?
It’s not recommended. Garden soil compacts heavily in containers, restricts drainage, and often introduces pests and pathogens. In a genuine emergency, mix it 50/50 with perlite to improve drainage, but replace it with proper potting mix as soon as you can.
How do I know if my bulb is still viable after sitting in storage?
Give it a gentle squeeze. A healthy bulb feels firm throughout. Soft spots, visible mould, or a papery, shrivelled texture indicate damage. Some surface mould can be wiped off and the bulb planted anyway — if the interior is still firm, it may still bloom. A bulb that’s completely soft or hollow should be discarded.