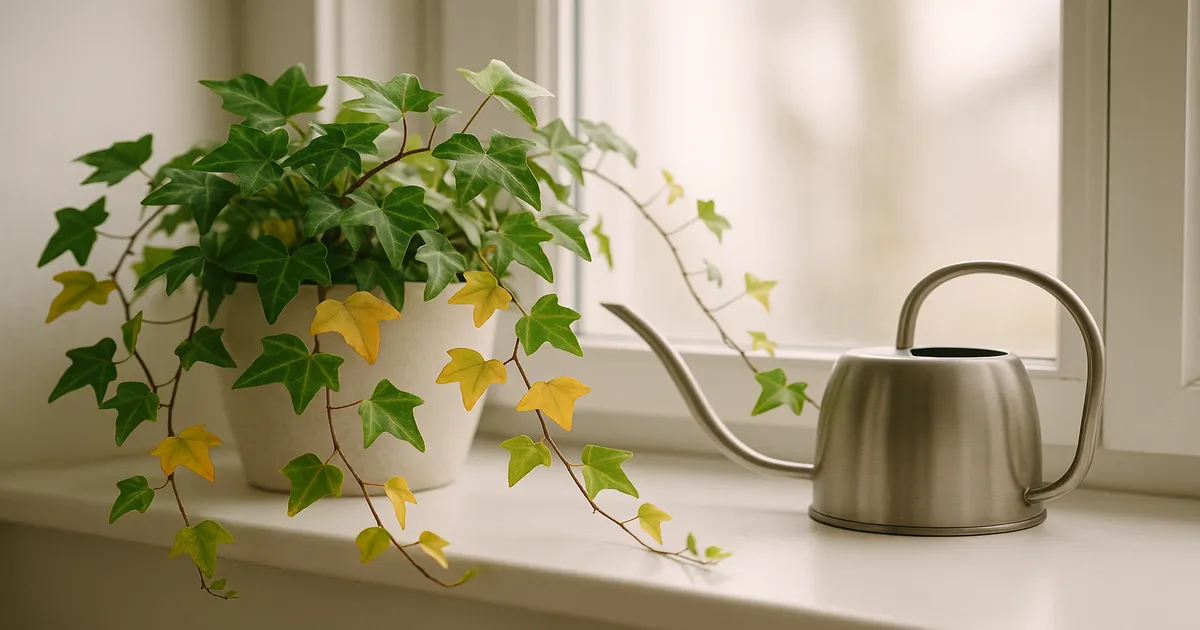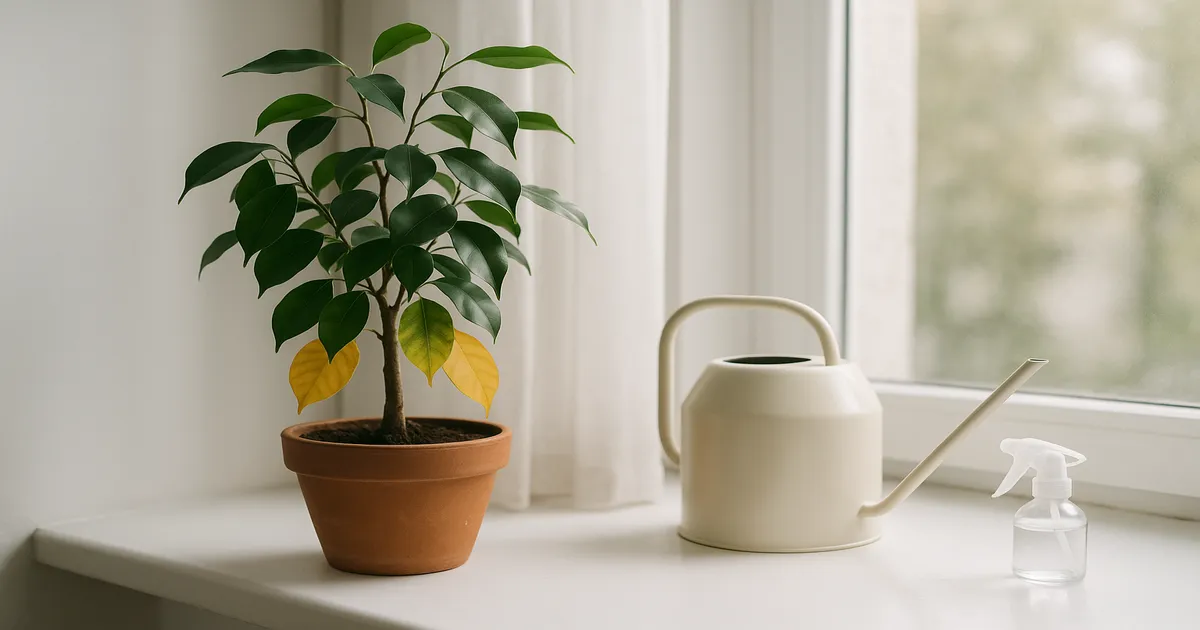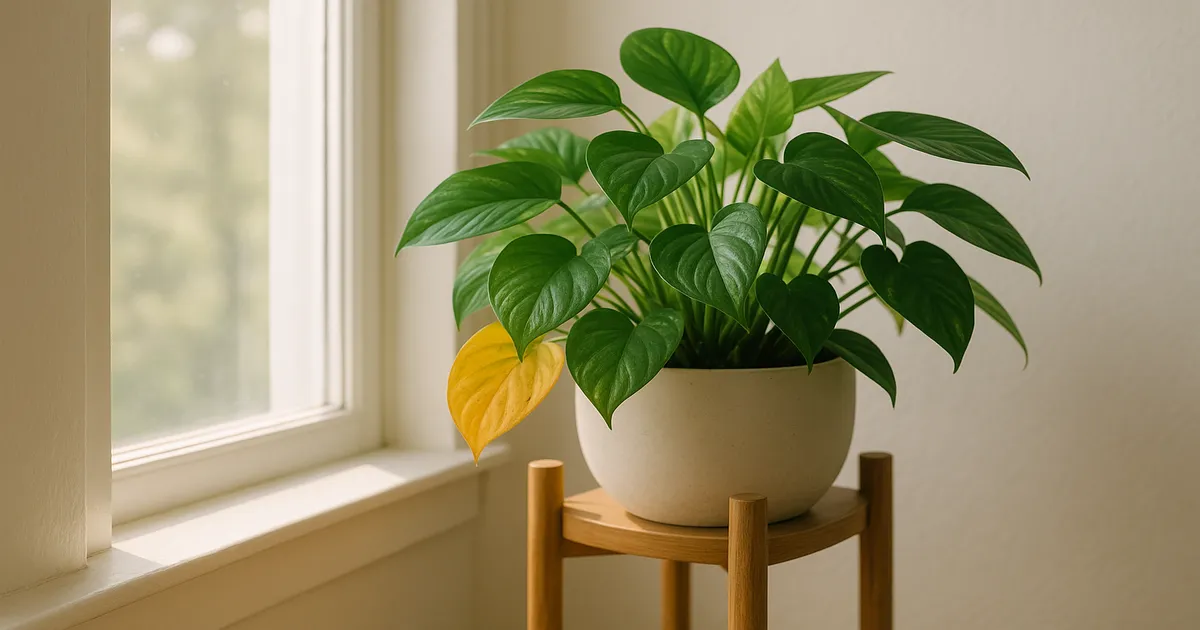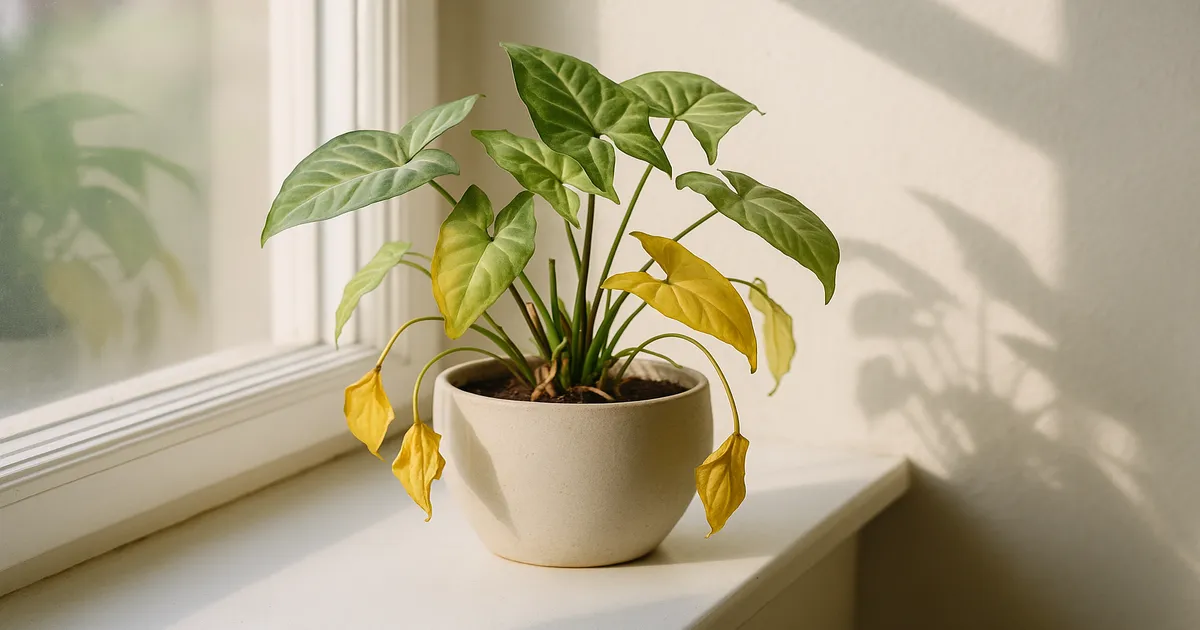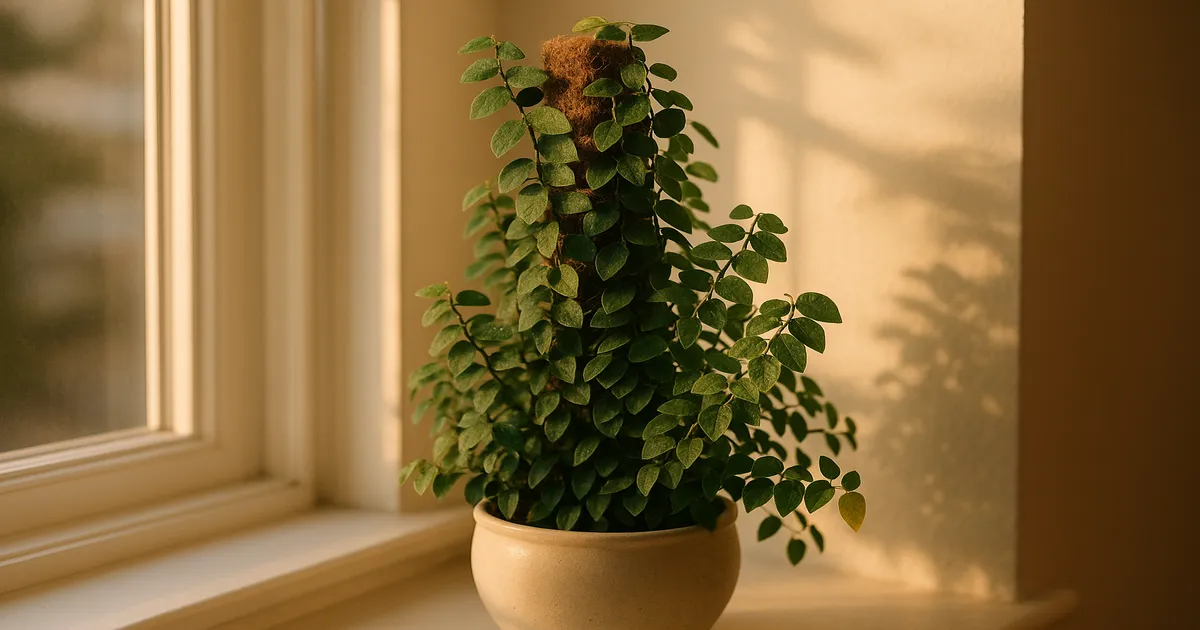
Quick Answer: Localized yellowing on Ficus pumila — yellowing in one specific spot rather than across the whole plant — almost always points to an environmental or physical problem in that zone, not a systemic disease. The most likely culprits are uneven light, a cold draft or heat source, localized pest activity, wall contact, or root rot affecting one stem. Figure out where the yellowing is before you diagnose why.
If you’re asking “why is my Ficus pumila yellowing in this spot?”, you’ve already done something useful: you noticed the problem is localized. That single observation rules out most systemic diseases and points you toward something specific happening in one zone of the plant.
Before scrolling to the causes, take 60 seconds to observe the pattern. Is the yellowing on one branch? One side of the plant? Only on leaves touching a wall? Older leaves near the base, or fresh new growth at the tips? That observation alone will cut your diagnosis time in half.
One thing worth knowing upfront: Ficus pumila exhibits heterophylly, meaning juvenile leaves (small, heart-shaped, 1–4 cm) and adult leaves (larger, leathery, 4–10 cm) look quite different and can show different yellowing patterns on the same plant. Don’t be alarmed if the yellowing looks different on one section — it may simply reflect a different leaf stage, not a separate problem.
Why Is My Ficus Pumila Yellowing in This Spot? The Most Common Causes
Uneven or Insufficient Light in That Zone
This is the single most common cause of localized yellowing on creeping fig. Chlorophyll breaks down continuously and must be regenerated through photosynthesis. Any section of the vine trailing into a darker corner, behind furniture, or on the shaded side of a trellis will start losing its green color while sun-exposed sections stay healthy.
Ficus pumila needs bright indirect light — roughly 1,500–3,000 foot-candles — to maintain healthy chlorophyll production. Below 200 foot-candles, yellowing and leaf drop follow within weeks. Variegated cultivars like ‘Variegata’ and ‘Snowflake’ are especially vulnerable because their white or cream leaf sectors contain no functional chlorophyll, leaving the green sectors with no margin for error. These cultivars need a minimum of 500 foot-candles even in their dimmest section.
Cold Drafts or Heat Sources at a Specific Location
Creeping fig prefers temperatures between 60–80°F (15–27°C) and is genuinely cold-sensitive. When a section of the vine trails near an air conditioning vent, a drafty window frame, or an exterior door, those leaves experience cold air that disrupts membrane function and breaks down chloroplast structure — while the rest of the plant stays perfectly warm and green.
Heat stress above 95°F (35°C) causes similar oxidative damage. Cold injury is particularly tricky because the damage often doesn’t appear until 48–72 hours after the cold event, so the connection between cause and symptom isn’t always obvious.
Overwatering and Root Rot Affecting One Stem
When roots rot — usually from Pythium, Phytophthora, or Fusarium in waterlogged soil — they lose the ability to transport water and minerals to the stems they feed. If rot affects one root zone or one side of the pot, only the stems connected to those roots will yellow. This pattern can look convincingly random, which is why it stumps a lot of people.
Magnesium and iron are the nutrients most visibly affected, since both are essential for chlorophyll synthesis. The ideal soil pH for F. pumila is 5.5–6.5; waterlogged soil often becomes more acidic or anaerobic, compounding the problem.
Localized Pest Colonies
Pests almost always start in a specific microhabitat — a warm, dry corner near a heat vent, a dense section of foliage against a wall, or the shaded underside of leaves. Spider mites pierce individual leaf cells and extract chloroplasts, creating stippled yellowing that concentrates where conditions favor reproduction (hot and dry). Scale insects attach to stems and leaf undersides, disrupting phloem transport and creating chlorotic halos around feeding sites. Mealybugs cluster in leaf axils and secrete honeydew that encourages sooty mold, which blocks light absorption.
Early-stage infestations are almost always localized — which is exactly why a pest colony can look like an environmental problem at first glance.
Physical Damage or Chemical Burn from Wall Contact
Leaves pressed tightly against painted walls, rough masonry, or treated wood can suffer in three ways. Mechanical abrasion breaks down the cuticle and disrupts photosynthetic cells. Fresh paint and treated wood release VOCs that chemically burn leaf tissue. And leaves plastered flat against a surface can’t exchange CO₂ and O₂ efficiently. The result is yellowing that’s perfectly localized to whichever leaves are in contact with the wall, while leaves hanging freely stay green.
Less Obvious Causes Worth Ruling Out
Nutrient deficiency in one root zone. Nitrogen deficiency yellows older leaves first — it’s a mobile nutrient the plant scavenges from old growth to feed new. Iron deficiency shows up as interveinal chlorosis in new growth (veins stay green, tissue between them yellows), because iron is immobile in the plant. Magnesium deficiency produces interveinal yellowing in older leaves, since magnesium is the central atom in the chlorophyll molecule. Deficiencies can appear localized when soil pH varies across the root zone or nutrients have been depleted unevenly.
Hydrophobic soil in one corner. When peat-based potting mixes dry out completely, water runs down the sides of the pot without penetrating the root zone. One corner dries out faster than others, causing drought stress in the roots feeding that area. Probe the soil at multiple points — you may find it bone dry in one spot and moist in another.
Root-bound stress and girdling roots. A severely pot-bound Ficus pumila can develop circling roots that strangle themselves, cutting off water and nutrient transport to specific stems. The outermost root mass in a tightly packed pot may also die from desiccation while inner roots remain functional, creating yellowing patterns that correspond to which stems those dead roots were feeding.
Fungal leaf spot. Cercospora leaf spot, Botrytis (gray mold), and anthracnose all begin at a focal point — a wound, a water-splash zone, or a low-airflow corner — and radiate outward. Look for yellow halos with brown centers (Cercospora), water-soaked lesions turning brown (anthracnose), or a fuzzy gray collapse (Botrytis). Fungal infections are easiest to treat in their early, localized stage.
How to Diagnose Which Cause Is Affecting Your Plant
Step 1 — Map the yellowing pattern. Document exactly where the yellowing is before touching anything. Wall-contact yellowing is obviously physical. Older-leaf yellowing points to nitrogen deficiency or root rot. New-growth interveinal yellowing suggests iron deficiency. This single step eliminates multiple causes immediately.
Step 2 — Check light levels. Download a free smartphone light meter app and measure foot-candle readings at the yellowing spot versus a healthy section. Anything below 200 foot-candles is a red flag. For variegated cultivars, flag anything below 500 foot-candles.
Step 3 — Measure temperature at the affected spot. Use a digital probe thermometer to check the exact yellowing location at different times of day — morning, afternoon, and evening. A reliable instant-read thermometer makes this quick and accurate. Check for proximity to vents, drafty windows, radiators, or exterior walls.
Step 4 — Inspect roots, soil moisture, and drainage. Probe the soil at multiple points with a moisture meter — not just at the surface. If you suspect root rot, gently unpot the plant and examine the roots. Healthy roots are white or cream-colored and firm. Rotted roots are brown or black, mushy, and may smell sour.
Step 5 — Examine leaves and stems for pests or disease. Use a magnifying glass to inspect leaf undersides and stem joints. Spider mites leave fine webbing and tiny moving dots. Scale looks like small brown or tan bumps on stems. Mealybugs appear as white cottony clusters in leaf axils. For fungal disease, look for lesions with yellow halos or water-soaked edges.
How to Fix Ficus Pumila Spot Yellowing Based on the Cause
Uneven light. Rotate the plant so the affected section faces the light source. If natural light is insufficient, a full-spectrum LED grow light positioned 6–18 inches from the yellowing section and running 12–14 hours per day can compensate effectively. Prune heavily yellowed stems back to healthy green growth — they won’t recover their color.
Draft and temperature damage. Confirm the source with a probe thermometer, then reposition the plant to maintain 60–80°F (15–27°C) throughout. If repositioning isn’t possible, install draft excluders on nearby windows or doors. Avoid placing the plant near radiators; if you have no choice, a pebble humidity tray will help counteract the drying heat.
Root rot. Act quickly. Unpot the plant, prune all rotted roots with scissors sterilized in 70% isopropyl alcohol, and treat the remaining roots with a biological fungicide containing Trichoderma harzianum or a copper-based drench. Repot into a well-draining mix — 60% quality potting mix, 20% perlite, 20% orchid bark or coarse horticultural sand — at pH 5.5–6.5 in a terracotta pot with drainage holes. Going forward, water only when the top inch of soil is dry and never let the pot sit in standing water for more than 30 minutes.
Pest infestations.
- Spider mites: Raise humidity to 50–70% and apply insecticidal soap or a 2% neem oil solution every 5–7 days for 3–4 cycles.
- Scale: Remove manually with cotton swabs dipped in 70% isopropyl alcohol, then apply horticultural oil to smother crawlers.
- Mealybugs: Isopropyl alcohol spot treatment followed by neem oil spray.
Nutrient deficiencies. Test soil pH before amending — many deficiencies are pH problems in disguise. For iron deficiency, use chelated iron (EDDHA form). For magnesium deficiency, apply Epsom salt (1 tablespoon per gallon) as a soil drench once monthly — don’t overdo it, as excess magnesium antagonizes calcium uptake. For nitrogen deficiency, use a balanced 10-10-10 liquid fertilizer at half strength every 2–4 weeks during the growing season.
Wall contact damage. Gently separate affected leaves from the wall — don’t pull hard, as adhesive rootlets can tear tissue. Train the vine slightly away from the wall using soft plant ties, creating an air gap. Damaged leaves won’t turn green again, so prune them once you’ve addressed the cause.
Hydrophobic soil. Bottom water by setting the pot in a tray of water for 20–30 minutes. To rewet severely hydrophobic soil, add a few drops of liquid dish soap as a surfactant — this breaks surface tension and allows water to penetrate dried peat. After watering, probe the soil at multiple points to confirm even moisture distribution.
Ficus Pumila Care Fundamentals to Prevent Future Yellowing
Preventing localized yellowing comes down to consistency across the whole plant, not just the healthy sections.
- Light: Bright indirect light (1,500–3,000 foot-candles) across the entire plant. Variegated cultivars need a minimum of 500 foot-candles even in their dimmest section.
- Watering: Water when the top 1 inch of soil is dry. Bottom watering for 20–30 minutes promotes even moisture distribution and prevents the dry pockets that cause localized yellowing.
- Temperature and humidity: Keep the plant between 60–80°F (15–27°C), never below 50°F or above 95°F. Maintain 50–70% relative humidity — a small ultrasonic humidifier helps in dry indoor environments. Good airflow without direct cold drafts also reduces fungal disease risk.
- Fertilizing: Balanced, water-soluble fertilizer at half strength every 2–4 weeks in spring and summer. Reduce to once monthly in fall; stop or continue at quarter strength in winter.
- Pot and soil: The 60/20/20 blend — potting mix, perlite, orchid bark — at pH 5.5–6.5 in a terracotta pot with drainage holes. Avoid dense, peat-heavy mixes that compact and become hydrophobic over time.
Special Considerations for Ficus Pumila Cultivars
Variegated cultivars (‘Variegata’, ‘Snowflake’). The white or cream leaf sectors contain no functional chlorophyll, so the green portions must carry the entire leaf’s energy needs. Any drop in light, temperature swing, or root disturbance shows up faster and more severely in these cultivars than in the standard green species. They need higher minimum light levels and are less forgiving of repotting or inconsistent watering.
‘Minima’ and ‘Quercifolia’. ‘Minima’ — with its extremely small juvenile leaves — is particularly sensitive to root disturbance. Handle repotting carefully and avoid disturbing the root ball more than necessary. ‘Quercifolia’, with its distinctive oak-leaf-shaped lobes, follows standard species care and is no more prone to yellowing than the straight species. Both varieties exhibit heterophylly, so don’t be alarmed if adult leaves on an established section show different yellowing patterns than the small juvenile leaves on newer growth.
Frequently Asked Questions About Ficus Pumila Spot Yellowing
Why is my Ficus pumila yellowing in just one spot and not the rest of the plant?
Localized yellowing almost always points to a localized cause — something specific happening in that zone. The most common culprits are insufficient light in that section, a cold draft or heat source nearby, wall contact, a pest colony getting established, or root rot affecting one stem. Map the pattern first (which leaves, which position on the plant), then work through the diagnostic steps above.
Can yellow Ficus pumila leaves turn green again?
In most cases, no. Once chlorophyll has broken down and a leaf has turned yellow, it won’t recover its green color. The exception is very mild, early-stage yellowing caused by temporary stress — if you fix the problem quickly, leaves that are just beginning to pale may stabilize. It’s generally better to prune fully yellow leaves and focus energy on protecting the healthy growth that remains.
How do I tell if my creeping fig is overwatered or underwatered?
Check soil moisture at multiple points in the pot, not just at the surface. Overwatered soil feels consistently wet or waterlogged, may smell sour, and roots will look brown and mushy if you unpot. Underwatered soil is dry, may have pulled away from the pot edges, and feels hydrophobic — water runs off rather than soaking in. Overwatering typically causes soft, limp yellowing; underwatering causes yellowing with dry, crispy leaf edges.
Why are only the leaves touching my wall turning yellow?
This is almost certainly physical or chemical damage from wall contact. Leaves pressed against painted walls, masonry, or treated wood suffer cuticle abrasion, restricted gas exchange, and potential chemical burn from VOCs or alkaline materials like lime plaster. Gently separate the leaves, train the vine slightly away from the wall using soft ties, and prune the damaged leaves — they won’t recover their color.
How much light does Ficus pumila need to prevent yellowing?
Ficus pumila needs bright indirect light — roughly 1,500–3,000 foot-candles — for healthy chlorophyll production. Below 200 foot-candles, yellowing and leaf drop will begin within weeks. Variegated cultivars need a minimum of 500 foot-candles even in their lowest-light section.